# DTF Prints: The Ultimate Guide to Color Management & Design Optimization
Color accuracy and design quality are the backbone of successful DTF printing. Even the best equipment can produce subpar results if your color management is off or your designs aren’t optimized for the DTF process. In this guide, we’ll dive into the science of color management, share design best practices, and provide actionable tips to ensure your DTF prints are vibrant, consistent, and true to your vision.
## Understanding Color Management for DTF Printing
### Color Models: RGB vs. CMYK vs. Spot Colors
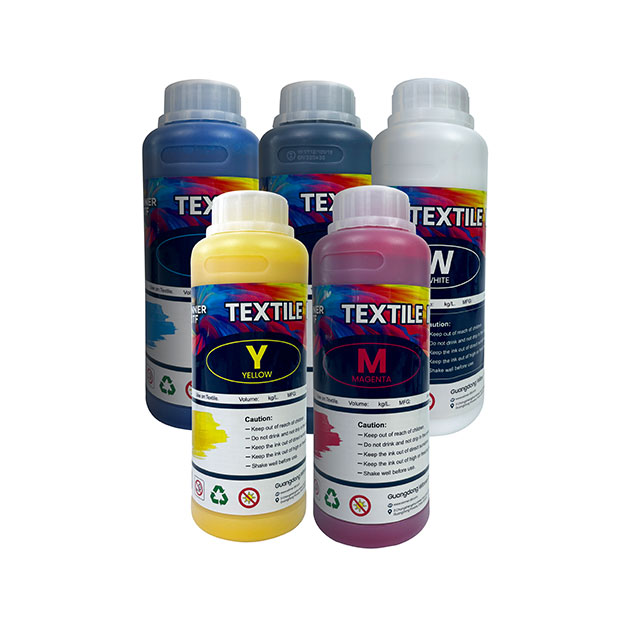
Color management starts with understanding the different color models used in printing. RGB (Red, Green, Blue) is the color model for digital screens, but DTF printers use CMYK (Cyan, Magenta, Yellow, Key/Black) to mix colors. Converting RGB designs to CMYK is essential to avoid color shifts—use graphic software like Adobe Photoshop to adjust the color profile (e.g., ISO Coated v2) for print. Spot colors are pre-mixed inks used for logos or brand colors that require exact consistency; they’re ideal for corporate apparel but require additional setup. For most DTF prints, CMYK is sufficient, but spot colors can add value for high-end clients.
### Calibration Tools and Techniques
Calibrating your printer and monitor is critical for consistent color accuracy. Use a colorimeter (like the X-Rite i1Display Pro) to calibrate your monitor, ensuring it displays colors correctly. For your DTF printer, run a color calibration test print and adjust the ink density in your printer software to match the target colors. Use a spectrophotometer to measure the color of printed samples and compare them to your design file. Additionally, keep your printer’s firmware updated to access the latest color management features. By calibrating your equipment regularly, you can reduce reprints and ensure customer satisfaction.
## Design Optimization for DTF Printing
### File Preparation: Resolution, Size, and Format
Design optimization starts with file preparation. Use high-resolution images (300 DPI or higher) to ensure sharp, detailed prints—low-resolution images will appear pixelated when scaled. Set your design size to match the garment size (e.g., 12×16 inches for a t-shirt) and leave a 0.1-inch bleed area to prevent white borders. Save your design in a lossless format like PNG or TIFF, avoiding JPEGs which can compress colors. For text-heavy designs, use vector graphics (e.g., SVG) to ensure crisp lines and avoid blurriness. By preparing your files correctly, you can save time and reduce waste.
### Design Elements to Avoid for DTF Printing
Certain design elements can cause issues in DTF printing, leading to poor quality or wasted materials. Avoid using overly thin lines (less than 0.5pt) as they may not print clearly, especially on dark fabrics. Gradients with subtle color shifts can be difficult to reproduce—use solid colors or larger gradient steps instead. For low-contrast designs (e.g., light text on a light background), add a stroke or shadow to improve readability. Additionally, avoid using transparent elements, as DTF printing doesn’t support transparency—use a white underbase instead. By avoiding these design pitfalls, you can ensure your prints are professional and eye-catching.
## Advanced Design Techniques for DTF Prints
### Creating 3D Effects with Layered Designs
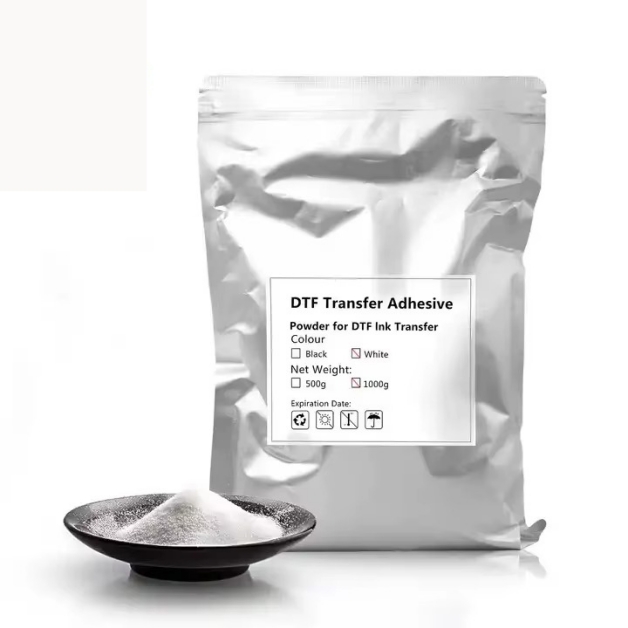
3D effects are a great way to add depth and texture to your DTF prints. This technique involves printing multiple layers of ink and adhesive powder to create a raised design. Start by designing your artwork in layers using Adobe Illustrator—each layer should be a separate color or element. Print the base layer first, apply adhesive powder, then print the next layer on top. For example, a logo with a raised border can be created by printing the border first, then the inner design. Use a heat press with adjustable pressure to ensure each layer is properly bonded. By experimenting with layer order and thickness, you can create unique 3D effects that command a premium price.
### Using White Underbases for Dark Fabrics
White underbases are essential for printing on dark fabrics, as they make colors pop and prevent the fabric’s color from showing through. For solid-colored designs, print a single white underbase layer, then print the color layers on top. For complex designs with gradients or fine lines, use a double underbase to ensure full coverage. Adjust the white ink density to 100% to create a opaque base, and use a heat press temperature of 330-350°F to cure the underbase. For best results, test print on a scrap piece of dark fabric before starting a full batch. By using white underbases correctly, you can achieve vibrant prints on any fabric color.
## Conclusion
Color management and design optimization are critical for creating high-quality DTF prints that stand out in the market. By understanding color models, calibrating your equipment, and optimizing your designs, you can ensure consistent results and happy customers. Whether you’re a beginner or a seasoned professional, these tips will help you take your DTF printing business to the next level. Invest in the right tools, experiment with advanced techniques, and focus on delivering exceptional value to your clients. With dedication and attention to detail, you can build a successful DTF printing business that is known for its quality and creativity.
*Disclaimer: The information provided in this guide is for educational purposes only. Always refer to your printer’s user manual for specific color management instructions.*