2025 Tested | Ultimate Guide to DTF Transfer Sheets: Beginner Pitfalls + 50+ Wash Durability Tips
Table of Contents
With the surge in demand for personalized customization, DTF (Direct-to-Film) transfer technology has become the top choice for entrepreneurs and craft enthusiasts due to its wide material compatibility and high pattern reproduction accuracy. As a core consumable, DTF transfer sheets directly determine the success of transfer results—many users invest in high-priced equipment but end up with peeling patterns or dull colors simply because they chose the wrong transfer sheets. Combining test data from 10 mainstream products and industry technical standards, this article covers four key dimensions (definition, selection, usage, and pitfalls) to create the most practical DTF transfer sheet guide online, helping you achieve professional-grade transfer effects effortlessly.
1. What Are DTF Transfer Sheets? Professional Breakdown of Core Principles
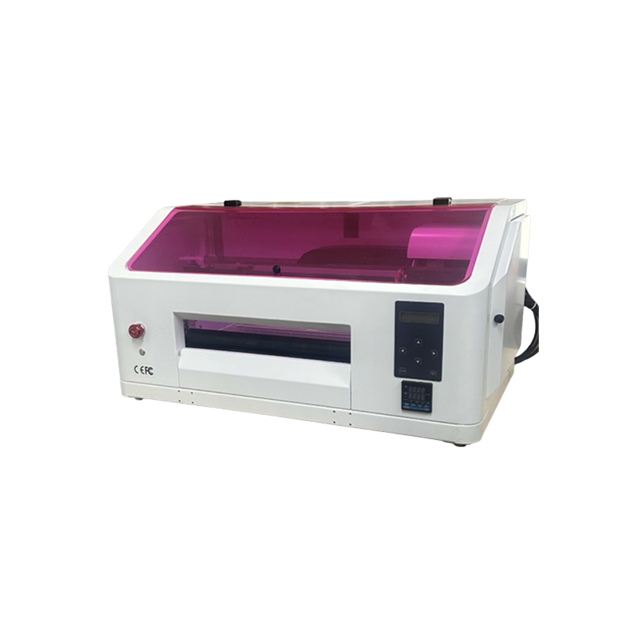
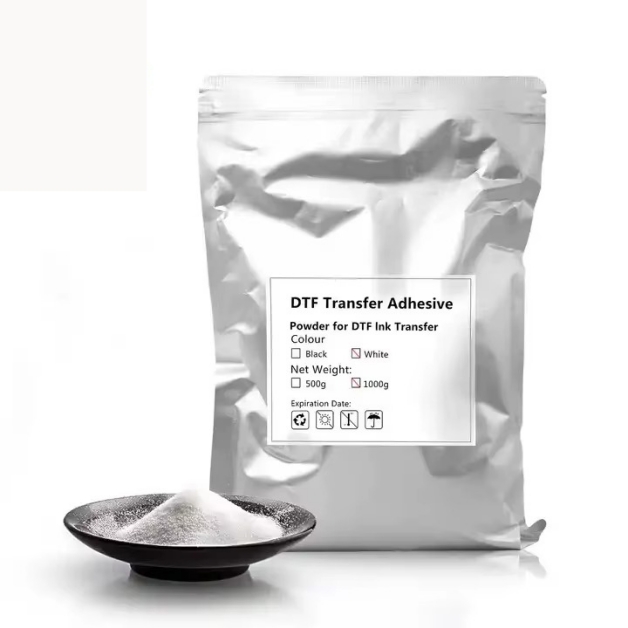
Essentially, DTF transfer sheets are PET (polyethylene terephthalate) films coated with a special ink-absorbing layer, serving as the core carrier for DTF transfer technology. The working principle is straightforward: first, print patterns onto the coating of the transfer sheet using a DTF printer. While the ink is still wet, evenly sprinkle hot-melt adhesive powder, then cure it at 100-120°C for 2-3 minutes to activate adhesion. Next, use a heat press machine to transfer the pattern onto the target material at specific temperature and pressure, and peel off the sheet after cooling to complete the transfer.
Compared with traditional heat transfer paper and sublimation paper, DTF transfer sheets have three core advantages: no reliance on substrate coatings, enabling direct transfer to cotton, leather, plastic, and other materials; support for dark fabric transfer (via white ink undercoating for vibrant colors); and no need for pattern cutting (print and transfer directly), significantly improving efficiency. High-quality DTF transfer sheets must meet four key requirements: uniform coating, strong ink absorption, high-temperature resistance, and smooth peeling—otherwise, issues like blurry patterns, sticking, or peeling may occur.
2. Core Advantages of DTF Transfer Sheets: Why They’re the Top Transfer Choice
In the field of personalized printing, DTF transfer sheets are gradually replacing some traditional transfer consumables, especially suitable for small and medium-sized entrepreneurs and craft lovers:
Extensive Compatibility: Works with cotton, polyester, blends, leather, nylon, stretch fabrics (e.g., leggings), and even plastic or hardware—solving the limitation that sublimation only works with polyester.
Superior Transfer Effects: Patterns feature bright colors and clear details; after heat transfer, the hand feel is soft and elastic (30%-50% softer than ordinary heat transfer films), with no stiff clumping.
Durable Wash Resistance: When paired with proper operation, high-quality DTF transfer sheets can withstand 50-100 washes without fading or cracking—even outlasting the lifespan of the garment itself.
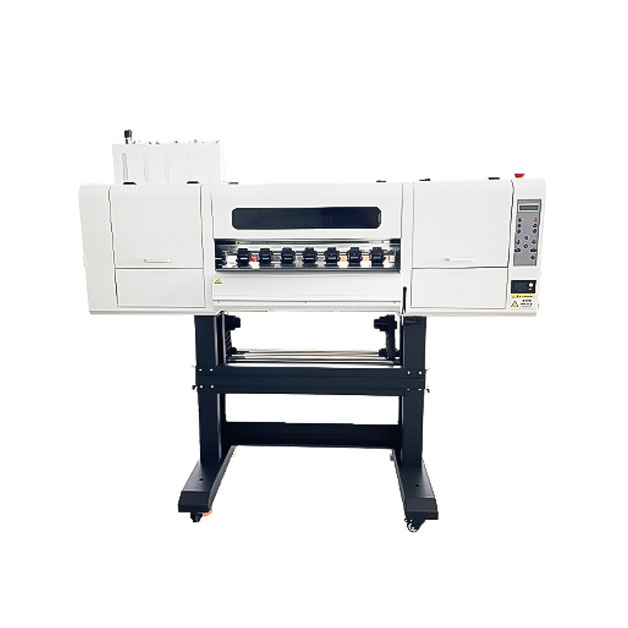
Low Operation Threshold: No fabric pre-treatment or precise cutting required; compatible with modified Epson L1800, ET-15000, and other printers, allowing beginners to master it quickly.
3. 6 Key Indicators for Choosing DTF Transfer Sheets (Tested Pitfalls, Overlooked by 90% of Users)
Blindly choosing based on price leads to mistakes. Combined with test data, the following 6 indicators directly determine transfer effects—beginners can use them as a checklist:
1. Material & Thickness (μm)
Core Parameter: Common thickness ranges from 50-100μm; the PET base must be high-temperature resistant and anti-stretching to avoid deformation or damage during transfer.
Selection Advice: 50-75μm for general scenarios (cotton T-shirts, canvas bags)—affordable with stable adhesion; 75-100μm for stretch fabrics and leather—stronger adhesion and flexibility, preventing cracking even when the fabric stretches.
2. Coating Quality
Key Judgment: The coating must be uniform (no bubbles or scratches), with a matte frosted texture (avoid transparent coatings) for strong ink absorption without ink pooling or bleeding.
Test Tip: After printing a solid-color pattern, high-quality coatings will allow even ink diffusion with no obvious graininess; low-quality coatings often cause ink accumulation or jagged edges.
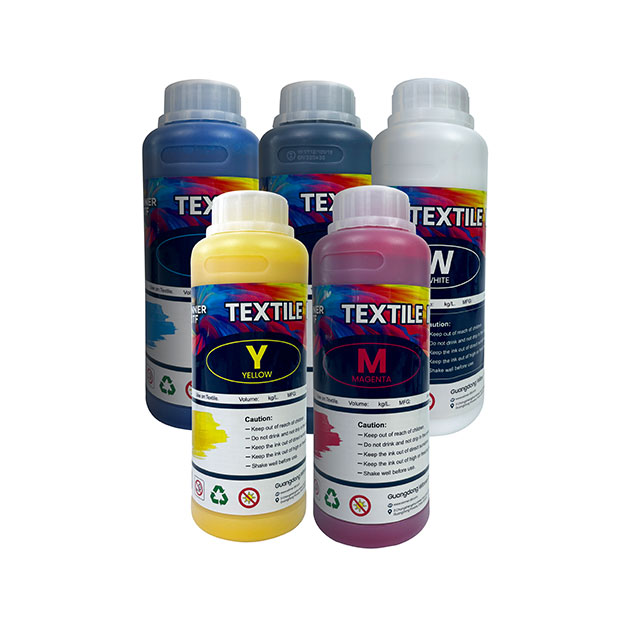
3. Compatible Ink Type
Core Requirement: Must be paired with DTF-specific water-based pigment inks (containing special resin components) to form a strong bond with the transfer sheet coating and adhesive powder.
Pitfall Warning: Do not substitute with ordinary inkjet inks—this causes blurry patterns, poor adhesion, and easy fading. It is recommended to choose ink sets from the same brand as the transfer sheets.
4. Peel Type (Hot Peel/Cold Peel)
Cold Peel: Peel after cooling to room temperature—stronger pattern adhesion and better wash resistance, suitable for durability-focused scenarios (e.g., clothing customization).
Hot Peel: Peel immediately after transfer—higher efficiency but slightly weaker adhesion, suitable for small-batch rapid production (e.g., event souvenirs).
Selection Advice: Beginners prioritize cold peel (higher error tolerance); for mass production, choose hot peel based on efficiency needs.
5. Size Specifications
Common Sizes: Small formats (A4, A3) for personal crafts and small-batch customization; rolls (30cm×50m, 60cm×300m) for small factories (lower unit cost).
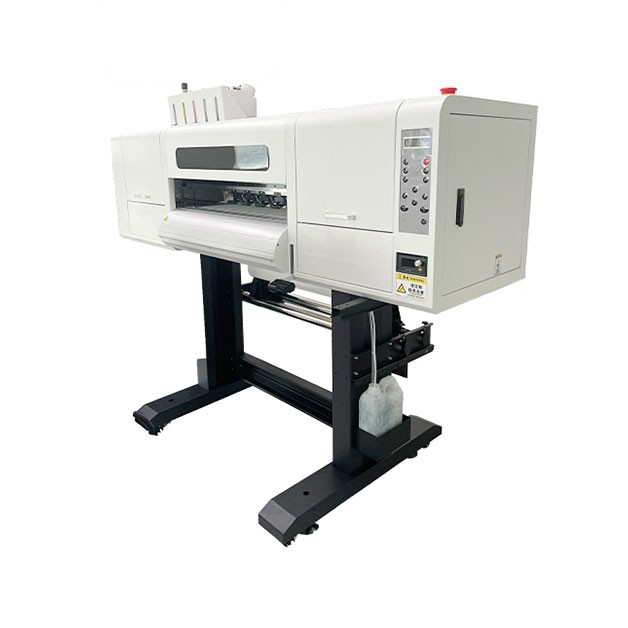
Compatibility Advice: Modified home printers (e.g., Epson L1800) use 40cm-wide rolls; industrial printers use 60-90cm-wide rolls to avoid frequent paper changes that reduce efficiency.
6. Brand & Compatibility
Recommended High-Quality Brands: Koala (best overall performance, compatible with most printers); Jindian (cost-effective, ideal for beginners); Hexis (for fine patterns); Neenah (top choice for dark fabrics).
Compatibility Key Point: Confirm compatibility with your printer model and adhesive powder; prioritize complete consumable sets (transfer sheets + ink + adhesive powder) to avoid transfer failures due to incompatibility.
4. Precise DTF Transfer Sheet Selection for Different Scenarios (Match Needs, Improve Efficiency)
Different transfer scenarios require different transfer sheets—precise selection doubles the effect:
Clothing Customization (Cotton/T-Shirts): Choose 75μm cold-peel transfer sheets with 80-100 mesh adhesive powder; transfer temperature 150-165°C—soft, wash-resistant patterns suitable for long-term wear.
Stretch Fabrics (Leggings, Sportswear): Prioritize 75-100μm high-adhesion transfer sheets (e.g., STS brand)—strong elasticity and stretch resistance to prevent pattern cracking when the fabric stretches.
Dark Fabrics (Black, Navy): Select transfer sheets with strong white ink coverage (e.g., Neenah)—ensure sufficient coating thickness and increase white ink density during printing to avoid color bleeding.
Small-Batch Crafts (Keychains, Hats): Use A4/A3 small-format transfer sheets (flexible operation, low waste); mass production (500+ pieces/day) uses 60cm×300m rolls (lower unit cost).
Leather/Plastic Materials: Choose low-temperature compatible transfer sheets; control transfer temperature at 135-149°C to avoid substrate damage from high temperatures.
5. Full DTF Transfer Sheet Usage Process: Zero-Failure Guide for Beginners
Proper usage is key to ensuring transfer effects—this optimized process (based on tests) guarantees success even for beginners:
1. Preparations
Transfer Sheet Storage: Store in a sealed, dry, and ventilated place to prevent coating failure from moisture; shelf life is 12-18 months.
Fabric Pre-Treatment: Pre-press fabrics with a heat press at 150°C for 5 seconds to remove moisture and oil; no additional pre-treatment for dark fabrics (avoid residual chemicals affecting adhesion).
Design Settings: Process design files with RIP software (e.g., Onyx, EFI Fiery); add white ink undercoating for dark fabrics; set resolution to 1200dpi+ for clear details.
2. Printing & Powder Sprinkling
Print Settings: Select DTF-specific print mode; adjust ink density (60%-80% for color patterns) to avoid ink pooling (too much) or dull colors (too little).
Powder Sprinkling: Immediately after printing, evenly sprinkle hot-melt adhesive powder to cover the entire pattern area; excess powder can be recycled. Ensure no clumps in the powder (affects adhesion).
3. Curing Process
Curing Parameters: Cure with an oven or heat tunnel at 100-120°C for 2-3 minutes until the adhesive powder fully melts into a transparent glossy state—insufficient curing leads to poor adhesion.
Notes: Do not exceed the recommended temperature (causes transfer sheet deformation); insufficient curing prevents full activation of the adhesive powder.
4. Heat Transfer Operation
Core Parameters: Most scenarios use 150-165°C, 40-50PSI (equivalent to the force of a firm handshake), and 10-15 seconds; reduce temperature to 140-149°C for polyester fabrics to avoid dye migration.
Operation Tips: Place the coated side of the transfer sheet against the fabric; ensure no bubbles or wrinkles. For thick fabrics (e.g., hoodies), slightly increase pressure for even pattern adhesion.
5. Cooling & Peeling
Cold Peel: After transfer, cool naturally to room temperature (3-5 minutes), then peel the sheet at a low angle—avoid pulling hard to prevent pattern damage.
Hot Peel: Peel immediately after transfer (fast operation); if peeling is difficult, extend transfer time by 5 seconds.
6. Post-Curing (Optional)
For products requiring long-term wash resistance, perform secondary curing after peeling: heat press at 160°C for 5-10 seconds, or bake at 160°F (≈71°C) for 60 seconds—further enhances pattern adhesion and wash resistance.
6. Common Issues & Solutions (Pitfalls Encountered by 95% of Users)
Even with the right transfer sheets, improper operation causes problems—here’s a troubleshooting guide based on tests:
Pattern Peels Easily/ Poor Adhesion: Caused by insufficient temperature, low pressure, or incomplete powder curing. Solution: Increase temperature by 5-10°C, adjust pressure to 50PSI, extend curing time by 1 minute; pre-treat fabrics to remove moisture and oil.
Blurry Patterns/ Jagged Edges: Result of low print resolution or transfer sheet shifting. Solution: Set print resolution to 1200dpi; use high-temperature tape to fix the transfer sheet and fabric during transfer.
Pattern Fades After Washing: Mostly due to incompatible ink or no secondary curing. Solution: Replace with DTF-specific ink; perform secondary curing after transfer; wash garments inside-out with cold water (avoid bleaching and high-temperature drying).
Transfer Sheet Sticks to Fabric: Caused by insufficient cooling or wrong peeling method. Solution: For cold peel, wait until fully cooled; for hot peel, peel immediately. If sticking persists, reduce transfer temperature by 5°C and extend cooling time.
Scorch Marks on Patterns: Caused by excessive temperature. Solution: Reduce temperature by 10-15°C, shorten transfer time by 5 seconds; use matte transfer sheets for dark fabrics to hide minor scorch marks.
7. 2025 High-Cost-Effective DTF Transfer Sheet Recommendations (Objective Reviews, Choose Based on Needs)
Combining test results and market reputation, here are 3 recommendations for different user needs (beginner, intermediate, professional):
Entry-Level (Beginners): Jindian DTF Transfer Sheets (75μm cold peel, compatible with most modified home printers, 30+ washes, ≈6−8/㎡)—cost-effective for small-batch crafts.
Intermediate (Small Factories): Koala DTF Transfer Sheets (75μm high-adhesion, uniform coating, vibrant color reproduction, 50+ washes, compatible with industrial printers, ≈10−13/㎡)—balances quality and efficiency.
Professional (High-End Customization): Hexis DTF Transfer Sheets (100μm for fine patterns, strong white ink coverage, ideal for dark fabrics and complex designs, 80+ washes, ≈15−17/㎡)—suitable for high-end clothing and gifts.
8. Usage Mistakes & Advanced Tips (Key to Improving Transfer Quality)
Common Mistakes
Mistake 1: Higher Temperature = Better Results: Excessive temperature causes fabric scorching, transfer sheet deformation, and brittle adhesive powder (reduces wash resistance).
Mistake 2: More Adhesive Powder = Stronger Adhesion: Excess powder leads to stiff patterns and glue overflow at edges—ruining hand feel and appearance.
Mistake 3: All Transfer Sheets Are Universal: Stretch fabrics need high-toughness sheets; dark fabrics need high-coverage sheets—blind universal use leads to poor results.
Advanced Tips
For mass production: Preheat the heat press to the target temperature in advance to reduce waiting time; calibrate temperature and pressure monthly (use an infrared thermometer to verify actual platen temperature).
For complex patterns (e.g., thin lines, gradients): Conduct small-area tests first to adjust print parameters and transfer temperature—avoid mass material waste.
Washing & Maintenance: Wash transferred products inside-out with cold water; avoid bleaching and high-temperature drying to extend pattern lifespan.
The selection and usage of DTF transfer sheets directly determine transfer success. Mastering core selection indicators, proper operation processes, and pitfall-avoidance tips allows you to achieve professional-grade results effortlessly. Whether starting a business or pursuing a craft hobby, choosing the right transfer sheets saves you time, reduces costs, and avoids frustration.