2025 Complete Guide to DTF Transfer Sheets: Choose & Use Correctly for Beginners, Avoid Mistakes, Double Your Printing Efficiency
Table of Contents
If you’re new to custom printing or looking to upgrade your small workshop’s printing process, you’ve probably heard of “DTF transfer sheets” – but practical use often brings headaches: blurry transferred patterns, poor adhesion that peels off after two washes, or even paper sticking to fabric and refusing to peel off after heat pressing… It’s not your skill level; you just haven’t mastered the “personality” of DTF transfer sheets. This guide covers everything from definitions to selection, operation to mistake avoidance, teaching you step-by-step how to maximize the advantages of DTF transfer sheets – even beginners can create high-quality prints quickly.
1. First, Understand: What Are DTF Transfer Sheets? Why Are They Better Than Other Transfer Methods?
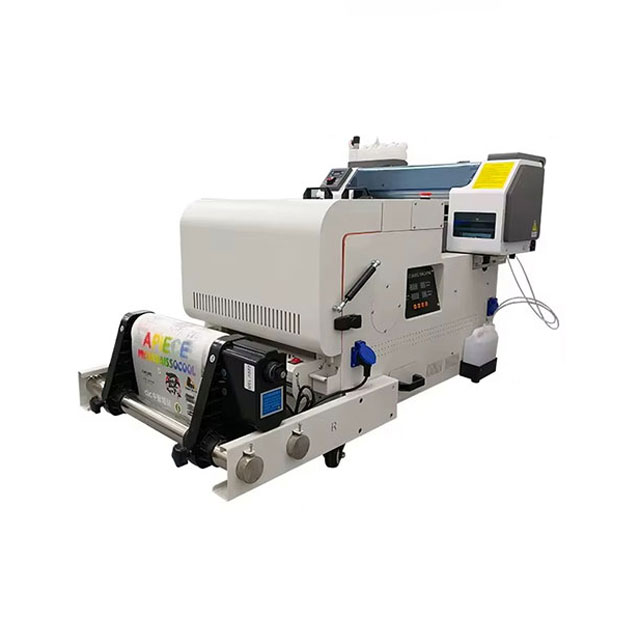
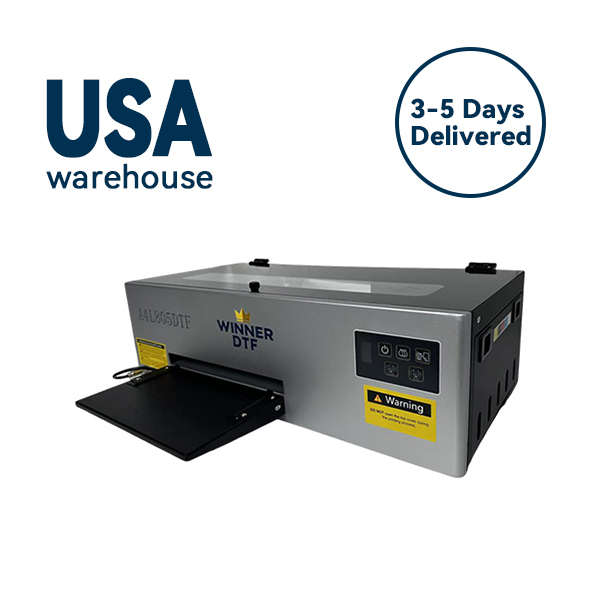
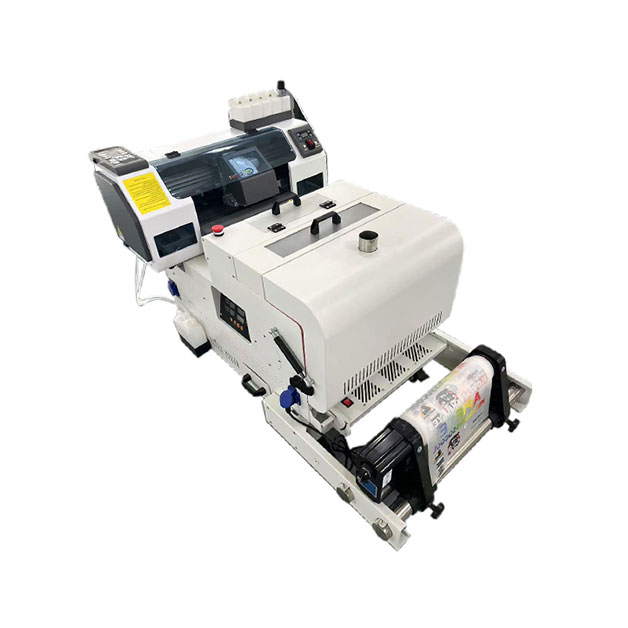
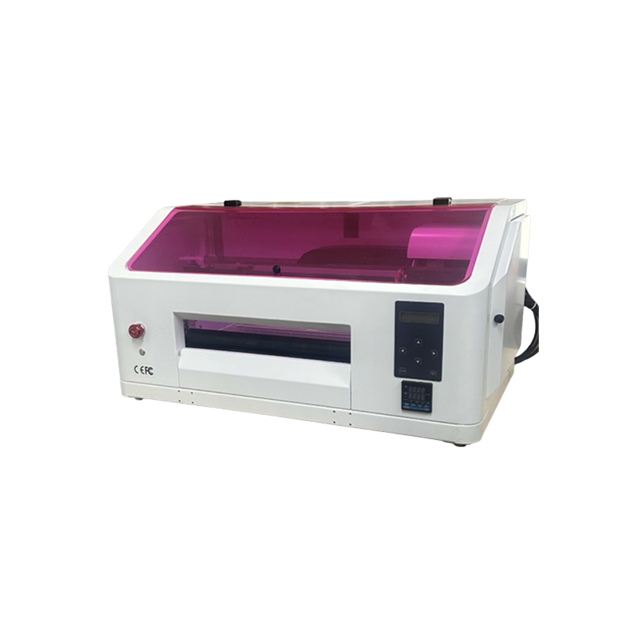
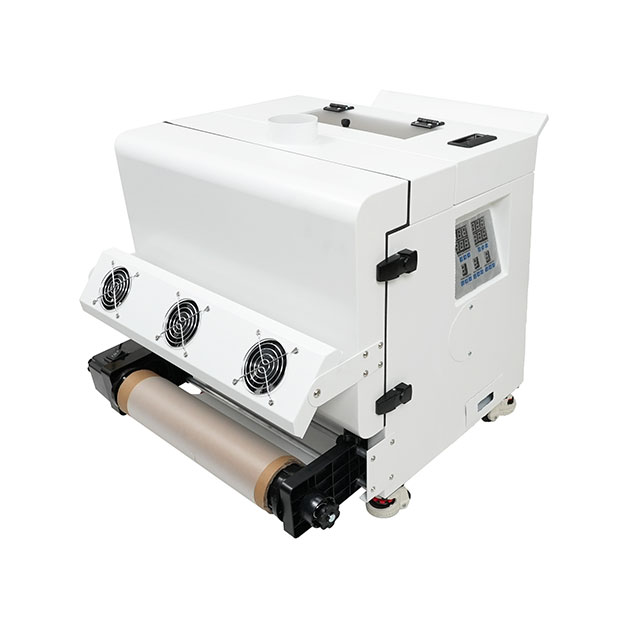
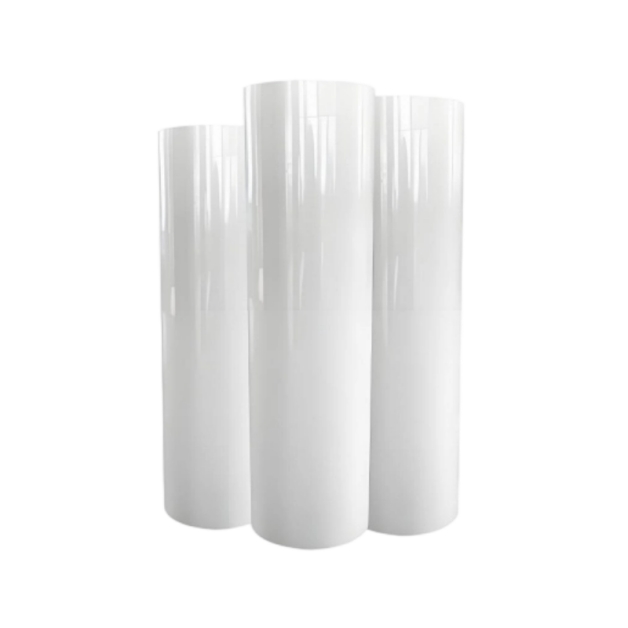
Let’s start with the core concept: DTF (Direct to Film) transfer sheets are specialized transfer media used with DTF printers, consisting of three layers: a PET base layer, an ink absorption layer, and a release layer. Their key advantage is “no fabric pre-treatment required” – unlike DTG (Direct to Garment) printing, which needs pre-treatment spray, or heat transfer vinyl, which requires individual pattern cutting. As long as the material can withstand high temperatures (150-180℃), DTF transfer sheets can achieve high-definition printing on cotton, polyester, blends, even leather and canvas.
Compared to common transfer methods, DTF transfer sheets have obvious advantages:
Lower Cost: For small-batch customization (fewer than 10 pieces), they save over 30% on consumable costs compared to DTG, with no need to buy separate pre-treatment fluids;
Better Color Reproduction: The ink absorption layer accurately holds CMYK + white ink, so light-colored patterns on dark fabrics won’t look gray;
More Flexible Operation: No restrictions on pattern size – from small kids’ clothing designs to large adult T-shirt prints, and they support multi-color gradients.
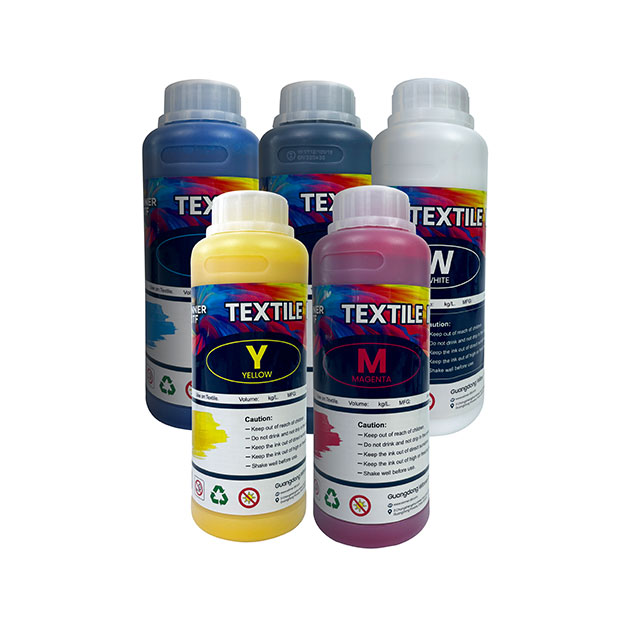
Many beginners confuse “DTF transfer sheets” with “regular heat transfer paper”. Remember the key difference: DTF transfer sheets require DTF-specific water-based ink and hot melt adhesive powder, resulting in stronger pattern adhesion. Regular heat transfer paper relies mostly on the ink’s own stickiness, which easily cracks after washing.
2. Must-Learn for Beginners: Correct Usage Steps for DTF Transfer Sheets (Including Parameter Table)
Mastering the right operation process avoids 80% of printing failures. Combining my 6 months of hands-on experience, I’ve organized a “foolproof step-by-step guide” for beginners, including detailed heat press parameters:
1. Preparation: Choose the Right Consumables + Pre-Treat Fabric
Consumable Matching: DTF transfer sheets (choose “high-elasticity” for stretchy fabrics like kids’ clothes/knits, “standard” for others) + DTF-specific water-based ink + fine-grain hot melt adhesive powder (80-100 mesh for stronger adhesion);
Fabric Pre-Treatment: Whether new or stored for a long time, dry the fabric in a dryer at low temperature (60℃) for 5 minutes to remove moisture, then press it with a flat heat press for 10 seconds to smooth out wrinkles – moisture or creases cause pattern misalignment during transfer.
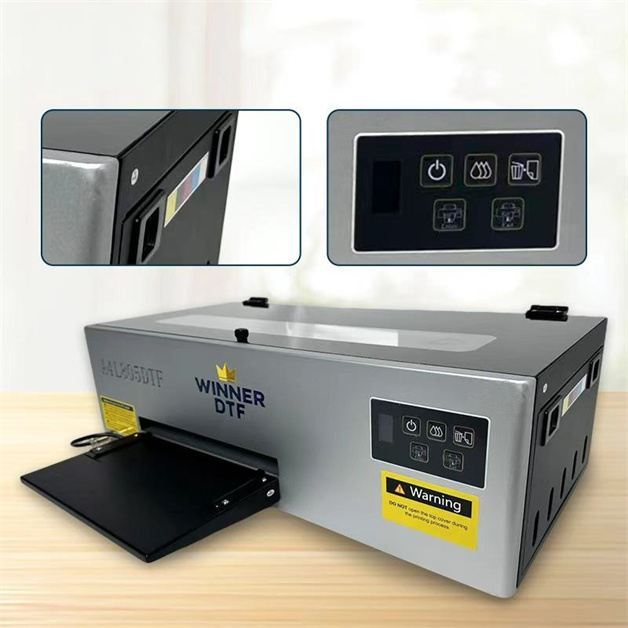
Print Settings: When using a DTF printer, set “media type” to “DTF Transfer Sheets”, resolution to 1200dpi (for high-definition patterns), and speed to medium (to avoid ink buildup). For dark fabrics, print a white underlayer first, then the colored pattern – set the white underlayer thickness to 0.2mm (thick enough to cover dark colors without being bulky);
Powder Sprinkling Tips: Immediately after printing, evenly sprinkle hot melt adhesive powder over the pattern, gently smooth it with a scraper, and pour excess powder back into the recovery box (reusable). Note: The powder must fully cover the pattern edges; otherwise, the edges will easily lift after transfer.
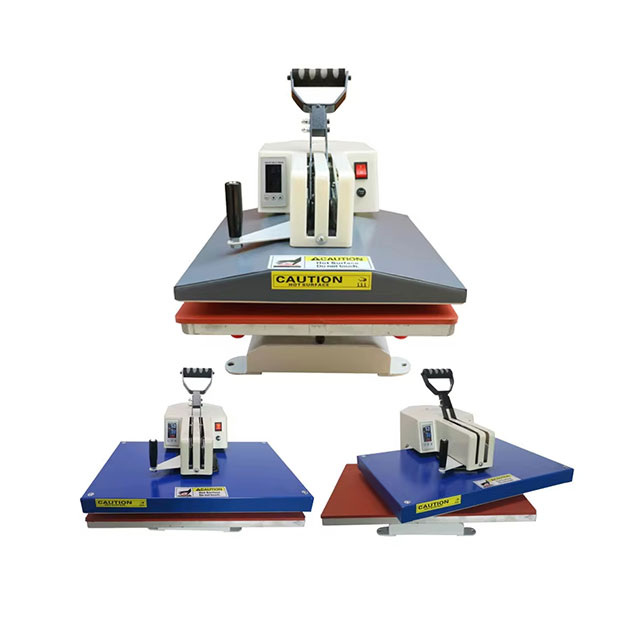
3. Heat Pressing + Peeling: Timing and Parameters Are Critical
This step determines pattern adhesion. Parameters vary by fabric – here’s a detailed table:
Fabric Type
Heat Press Temp
Heat Press Pressure
Heat Press Time
Peeling Timing
100% Cotton
160-170℃
3-4kg
15-18 seconds
Cold Peel (cool for 30s after pressing)
Polyester (Synthetic)
150-160℃
2-3kg
10-12 seconds
Hot Peel (peel immediately after pressing)
Blend (60% Cotton + 40% Polyester)
160℃
3kg
13-15 seconds
Warm Peel (cool for 10s after pressing)
Mistake Avoidance Tip: For hot peeling, move quickly and steadily to prevent lifting the pattern. For cold peeling, don’t touch the pattern with your hands beforehand – oils on your skin reduce adhesion. If part of the pattern remains on the paper after peeling, the heat press temperature or pressure is likely too low. Readjust parameters and repress (keep temperature the same, reduce time by 5 seconds).
DTF transfer sheets on the market range from a few dollars to dozens of dollars per sheet, making it easy for beginners to buy the wrong one. Remember these 3 core indicators, and you’ll never go far wrong:
1. Base Thickness: 80-120μm Is Most Practical
The PET base thickness of DTF transfer sheets determines ease of use and durability:
Too Thin (<80μm): Prone to curling during printing and may tear during heat pressing – suitable only for professional printers (with automatic paper feeding);
Too Thick (>120μm): The release layer has excessive adhesion, which may break the pattern when peeling – suitable for rigid fabrics (e.g., canvas bags, hats);
Beginners’ First Choice: 80-100μm – balances flexibility and sturdiness, easy to use even with manual paper feeding, and compatible with most fabrics.
2. Uniformity of the Ink Absorption Layer: Check Against Light
The uniformity of the ink absorption layer directly affects pattern clarity. When buying, hold a sheet up to strong light:
High-Quality Sheets: The absorption layer is evenly milky white, with no spots or uneven transparency;
Low-Quality Sheets: Visible graininess or partial transparency, leading to “ink gaps” or “uneven color blocks” after printing.
3. Release Effect: Test Peeling Smoothness
The release layer is the “soul” of DTF transfer sheets. Always buy a sample first for testing: Print a small pattern on the sample, sprinkle powder, heat press, then peel at the correct time. High-quality sheets peel without resistance, leaving the pattern intact on the fabric with no release layer residue. If peeling feels “sticky” or leaves transparent residue on the fabric, reject it immediately.
2 Mistake-Avoidance Tips:
Don’t Buy “Unbranded Bulk Sheets” for Cheap: Most are untested, and their absorption layers may contain fluorescent agents – risky for long-term skin contact, with poor adhesion;
Choose Based on “Usage Scenarios”, Not Blindly Buy “All-Purpose Sheets”: For example, choose “eco-friendly high-elastic sheets” (with SGS environmental certification) for kids’ clothes, and “UV-resistant sheets” for outdoor items (e.g., sun-protective clothing). Targeted selection yields better results.
4. Expanded Uses for DTF Transfer Sheets: More Profitable Scenarios Beyond T-Shirts
Many people think DTF transfer sheets only work for T-shirts, but their applications are far broader – expanding your use cases can boost profits significantly:
Personalized Accessories: Print on canvas bags, baseball caps, and scarves (choose thin DTF transfer sheets to avoid bulk). “Custom pet-pattern canvas bags” are trending on Xiaohongshu – using DTF transfer sheets keeps costs low while allowing high markup;
Home Goods: Print on pillowcases and tablecloths (choose waterproof transfer sheets). Note: Fabrics must withstand high temperatures (cotton-linen or polyester);
Niche Categories: Print on kids’ jackets (high-elastic transfer sheets for fabric stretch) and sneaker uppers (pre-treat the fabric first to prevent pattern misalignment).
Last month, I made 50 “custom corporate logo pillowcases” using DTF transfer sheets – they cost less than $1.10 each and sold for $4.90 each, tripling my profit. The key advantage: DTF transfer requires no mold opening, making small-batch customization cost-effective.
Conclusion: 3 Core Rules for Beginners to Master DTF Transfer Sheets
Choose the Right Type: Pick “high-elastic/standard” based on fabric, 80-100μm thickness, and avoid unbranded bulk sheets;
Control Parameters: Adjust heat press temperature, pressure, and time based on fabric – don’t randomize peeling timing;
Test First: Always print a sample with a new batch of transfer sheets to avoid mass failures.
DTF transfer sheets aren’t complicated – master these skills, and even beginners can create high-quality prints quickly. If you encounter specific issues during operation (e.g., “light patterns look gray on dark fabric” or “patterns peel after one wash”), feel free to leave a comment below and I’ll help you figure out the cause!
Subscribe
To join our mailing list and never miss our updates !