The custom apparel industry has undergone a seismic shift over the last three years. Barriers that once kept creative entrepreneurs out—high minimum orders, complex color separations, and fabric limitations—have crumbled. At the center of this democratization sits one piece of equipment: the DTF machine.
But here is the reality check that most “Top 10 DTF Printers” listicles won’t tell you: Buying a DTF printer is easy. Making it consistently profitable? That requires a deep understanding of the technology, the hidden costs, and the specific workflow that separates a hobbyist from a thriving print-on-demand business.
If you are a small business owner tired of outsourcing transfers or a screen printer looking to expand your offerings, you have likely been researching “dtf machine” for weeks. You want to know if the hype is real, which specifications actually matter, and how to avoid the $3,000 paperweight that sits in the corner of so many failed startups.
This guide is designed to give you that clarity. We are going beyond the spec sheets to explore not just what a DTF machine is, but how to choose one that aligns with your business goals, and how to operate it so that it becomes your highest-margin employee.
Direct-to-Film printing isn’t the newest kid on the block anymore, but it has rapidly evolved into the most versatile tool in the industry. To understand why a DTF machine might be your best investment, you have to look at how it interacts with your bottom line compared to older methods.
Traditional screen printing is an art form, but it is an art form that requires a significant time investment. If a customer walks into your shop needing 20 mixed-style shirts by tomorrow, screen printing demands you create screens, set up stations, and pray that the registration is perfect. A DTF machine eliminates that anxiety.
With a DTF setup, you aren’t printing on the shirt; you are printing on a film. This distinction is everything. It means you can print a library of designs in the morning—a dozen smalls, a dozen larges, a mix of hoodies and polo shirts—and press them throughout the day as orders come in. This “print-now, transfer-later” capability allows for just-in-time manufacturing that keeps inventory costs at zero .
If you have ever worked with Direct-to-Garment (DTG) printing, you know the frustration of dark garments requiring heavy pretreatment, or the disappointment of watching a design crack on a 50/50 polyester blend after one wash.
A quality DTF machine laughs at fabric content. Whether it is 100% cotton, a performance polyester jersey, nylon jackets, or even leather, the process remains identical. The adhesive powder acts as a universal glue, bonding the design to the fibers regardless of their origin . For a business, this means you never have to turn down an order again because of the material.
Early adopters of DTF technology dealt with a common complaint: the print felt like a thick sticker. It was durable, yes, but it lacked the finesse that boutique customers demanded. The 2026 generation of DTF machines and chemistry has solved this.
Modern white inks are formulated to be laid down thinner while maintaining opacity. Combined with finer hot-melt adhesive powders, today’s DTF transfers have a softness that rivals screen print’s “baseball tee” feel . If you have been avoiding DTF because you remember the heavy feel of transfers from five years ago, it is time to take another look.
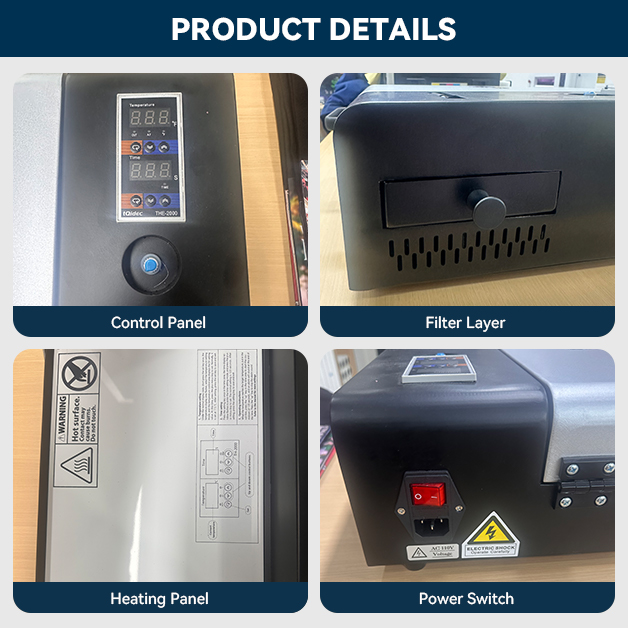
Before you hand over your credit card, you need to understand the moving parts. A DTF machine is not a magical black box; it is a system of integrated technologies. Knowing what each component does will help you troubleshoot problems and, more importantly, ask the right questions when dealing with suppliers.
The printhead is the single most critical component. It is responsible for jetting the ink onto the film with microscopic precision. In the current market, you will primarily encounter Epson-based printheads, but the specific model number matters more than the brand name.
Entry-level DTF machines often utilize Epson L805, L1800, or F1080 printheads. These are workhorses for low-to-medium volume production, offering reliable output at speeds around 10 to 20 square feet per hour. They are perfect for a startup testing the waters .
If you are scaling, look for machines equipped with dual I1600 or I3200 printheads. These industrial-grade heads allow for speeds up to 50 square feet per hour. The configuration here is also vital. A machine with CMYK + WWWW (four white ink channels) provides significantly better white ink coverage and opacity than a single white channel, ensuring your colors pop on black shirts without multiple passes .
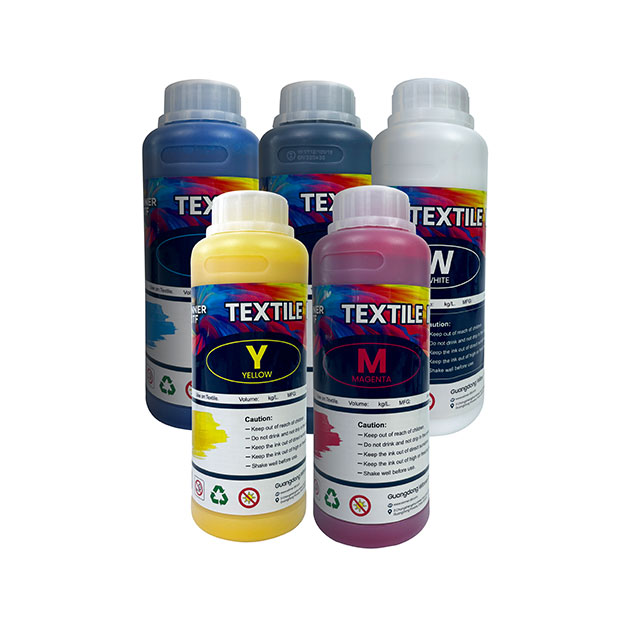
White ink is the lifeblood of DTF, and it is also its biggest headache. White pigment is heavy. If it sits still, it settles, or “sediments,” turning into a sludge that will destroy your printhead.
A cheap DTF machine might rely on passive stirring—a magnetic bar that spins in the ink bottle. This is often insufficient. A professional-grade system uses continuous, low-shear recirculation that pulls ink from the bottle, runs it through a filter, and pushes it back to the printhead, keeping pigment particles constantly suspended .
When evaluating a machine, ask specifically: Does the ink circulate all the way to the printhead, or just in the bottle? The answer will tell you how many weekends you will spend unclogging nozzles.
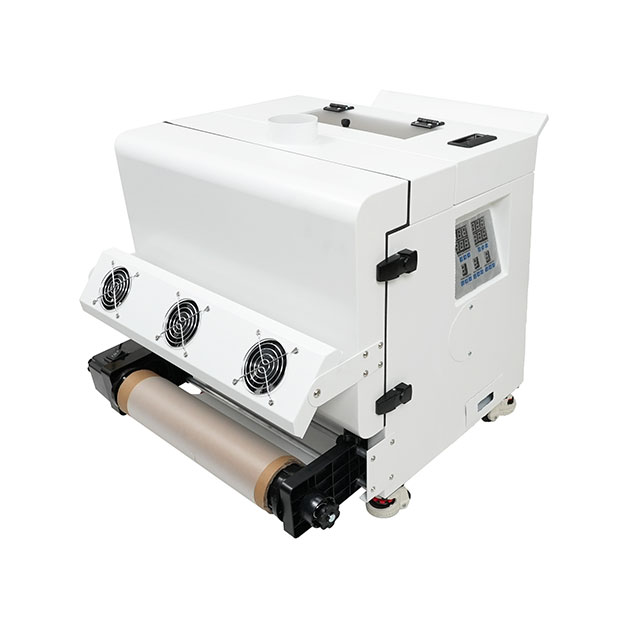
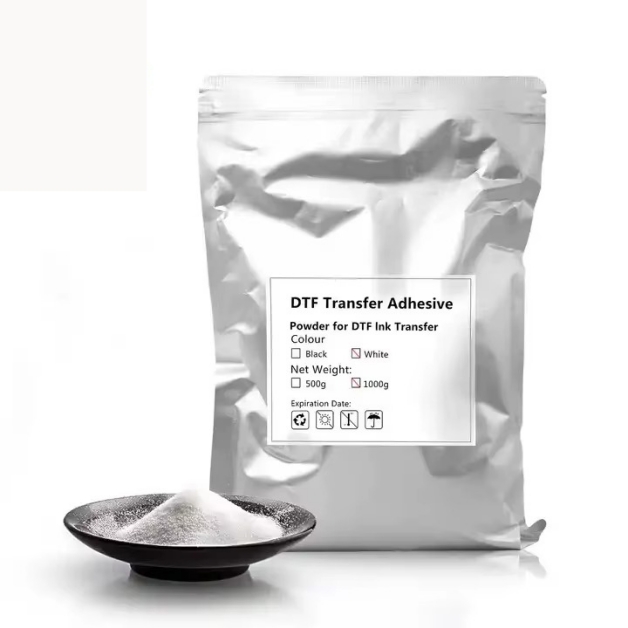
After the ink hits the film, it travels through a dryer. This isn’t just about drying; it’s about curing the adhesive powder that has been shaken onto the wet ink.
Beware of machines that list “high-temperature drying” without specifics. If the dryer cannot sustain a consistent surface temperature between 110°C and 130°C (230°F – 266°F) , your powder won’t fully cure. This leads to transfers that look perfect coming off the press but wash out after two cycles. Look for machines with PID-controlled heating zones that maintain temperature within a ±2°C variance .
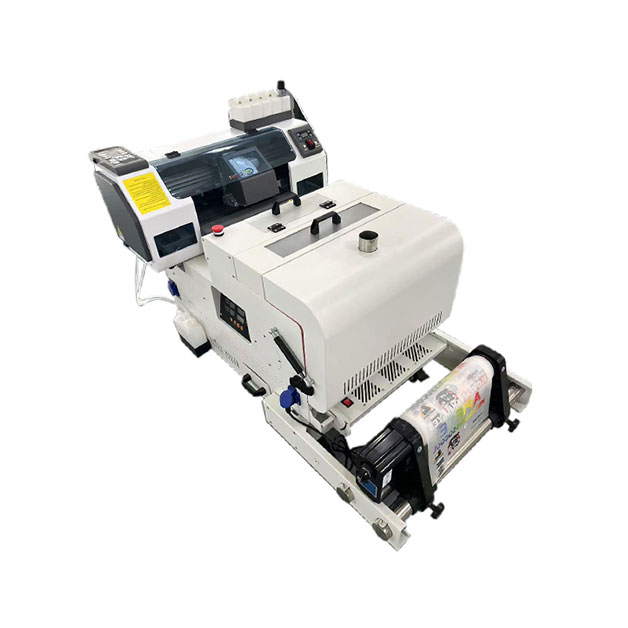
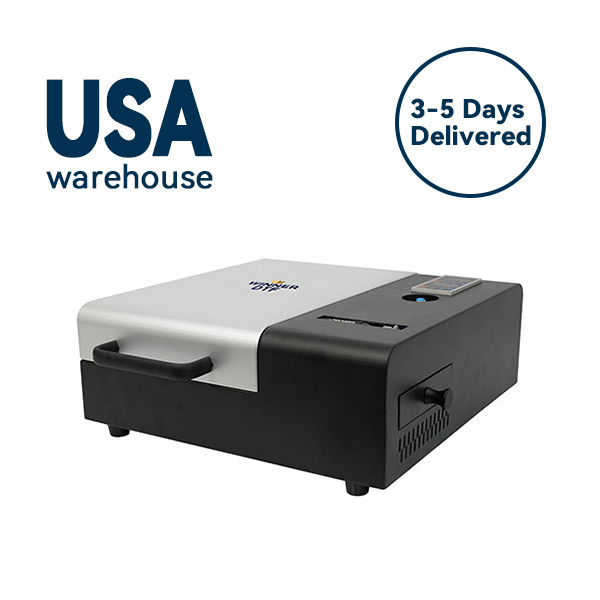
The market for DTF machines is crowded, but they generally fall into four distinct categories. Identifying which tier you belong to will save you from analysis paralysis.
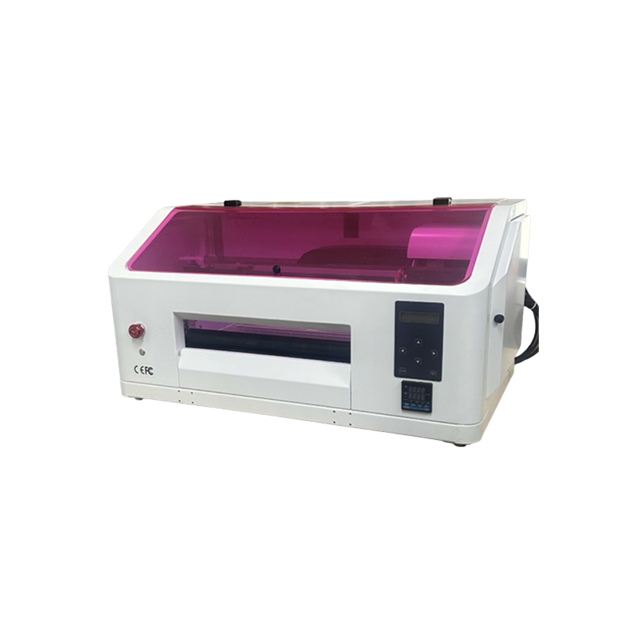
This tier includes machines like the OMTech Aurora D1 or the Neptune Neo. These are typically single-printhead units with a smaller footprint. They are designed for the entrepreneur working from a spare bedroom or garage, producing 5 to 15 shirts a day.
The Trade-off: You sacrifice speed for affordability. You will also likely need a separate powder shaker and curing oven. However, the print quality can still be exceptional, with many units using the reliable F1080 or L805 printheads. The key is to ensure it has some form of white ink agitation, even if basic .
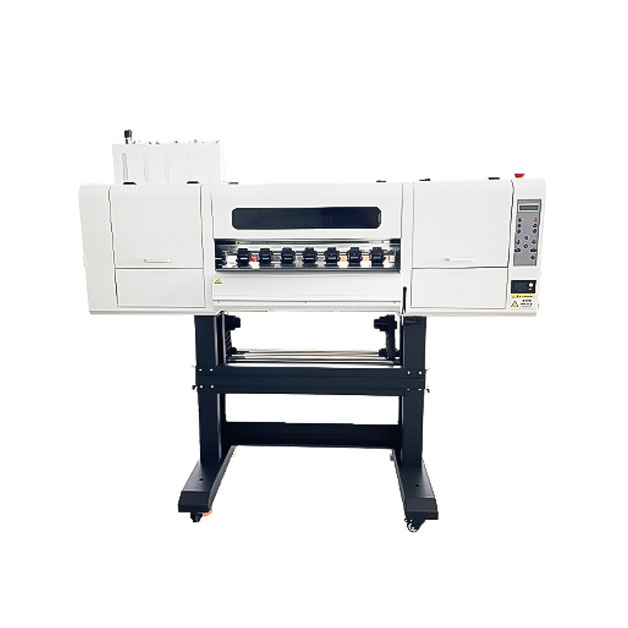
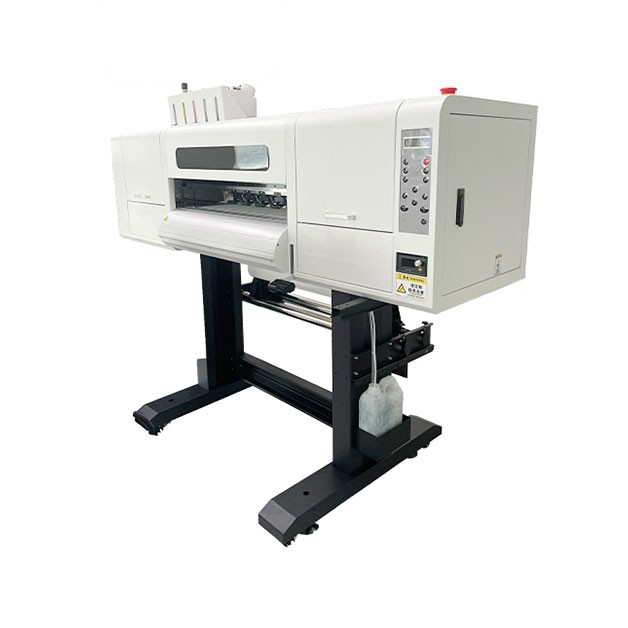
Here, you enter the realm of true production readiness. Machines like the DTFJet Lite X7 or the ChromaFlex DTF-Eco fall into this bracket. You get dual printheads, significantly faster speeds (25-30 films per hour), and integrated systems that reduce manual labor.
These machines often include better RIP software bundles (like Wasatch SoftRIP) and more robust ink circulation. If you are quitting your day job to pursue apparel full-time, this is your entry point .
The xTool Apparel Printer and OMTech Aurora D1 Pro represent the “push-button” philosophy. These systems integrate the printer, shaker, and dryer into a seamless workflow. They feature automated film cutting, camera-based calibration, and mobile app monitoring.
For a business with high labor costs or an owner who hates the messy powder step, this is the ultimate convenience. However, remember that increased automation can mean more complex (and expensive) repairs down the line .
Sourcing directly from Alibaba can save you 40-70% compared to domestic resellers, but it requires due diligence. You are playing the role of quality assurance manager. Stick to “Verified Suppliers” with ISO certification.
When contacting suppliers, demand a live video call showing a nozzle check, a thermal image of the dryer (to verify the 120°C+ claim), and a clear photo of the printhead label confirming it’s a genuine Epson model—not a generic knockoff .
Let’s move past the hardware and talk about the numbers that keep the lights on. Knowing your cost per transfer is the only way to price your services competitively without losing money.
For a standard 11″ x 17″ transfer, your material cost typically breaks down like this:
This puts your direct material cost between $0.90 and $1.70 per transfer .
The real differentiator between a profitable machine and a money pit is the first-pass yield. A budget printer might have an 86% yield, meaning 14 out of every 100 prints are garbage due to banding or misregistration. That wasted film and ink eats directly into your margin.
Paying a premium for a machine with a 95% yield (like the ChromaFlex or DTFJet X7) means you save that 9% waste. Over the course of 1,000 prints, that could be $150-$200 back in your pocket—money that pays for the machine upgrade over time .
Time is money. A machine that requires 22 minutes of daily maintenance and calibration costs you roughly 10 hours a month. At a $25/hour labor rate, that’s $250 in lost value. Automated nozzle checks and reliable capping stations reduce this significantly, allowing your operator to focus on designing, pressing, or shipping—not babysitting the printer .
You can own the best DTF machine on the market, but if your environment or technique is off, your prints will look amateur. Here are the three most overlooked factors.
DTF is surprisingly sensitive to atmospheric conditions. If your workspace humidity drops below 40% RH, static electricity builds up. This static attracts dust and lint to the wet ink on the film, causing pinholes in your print. If humidity rises above 60% RH, the PET film absorbs moisture and becomes “hygroscopic,” leading to poor adhesion and cracking after the wash .
The Fix: A simple $120 humidifier or dehumidifier with a hygrometer is not an optional expense; it’s a quality control tool. Keep your shop between 45% and 55% RH.
If you are getting perfect nozzle checks but still seeing horizontal banding (lines) in your prints, look at your RIP software settings. This is often a “feathering” or “interlacing” issue.
Feathering blends the passes of the printhead to obscure the natural seams in the printing process. If it’s disabled or set too low, you will see distinct bands. Enabling 100% or “Super” Feathering often resolves this instantly, giving you smooth, solid colors .
There is a common misconception that all DTF transfers peel the same way. Some films require a hot peel (immediately after pressing), while others require a cold peel (waiting for the garment to cool to room temperature).
Using the wrong technique will either rip the design or leave a hazy film residue. Always check your film’s specifications and standardize your workflow so your team knows the difference .
To bring this all together, let’s look at a hypothetical but realistic scenario based on industry trends.
Meet “Alex,” a graphic designer in Austin who was tired of designing for other people’s brands. Alex bought a used Polycase DTF-60S for $2,200. The first month was frustrating—clogs, inconsistent powder adhesion, and a steep learning curve with the open-source RIP software.
But Alex focused on a niche: custom western-themed shirts for local bars. By mastering the humidity control in his garage studio and switching to a higher-quality, manufacturer-recommended white ink, his failure rate dropped below 5%.
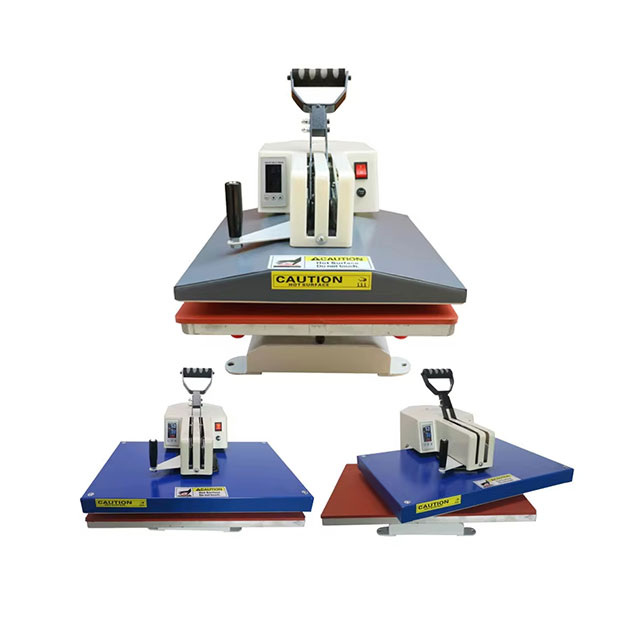
By Month 4, Alex was outsourcing the pressing to a local fulfillment center. He would print the transfers in the morning, drop them off, and pick up finished shirts in the afternoon. This allowed him to scale without investing in multiple heat presses or hiring staff.
His average order was 24 shirts at $22 per shirt, netting him roughly $350 profit after materials and fulfillment fees. With just three bar accounts and a growing Etsy store, Alex hit $8,000 in monthly revenue within eight months. The key wasn’t just owning a DTF machine; it was optimizing the system around it .
Before you finalize that purchase, run through this checklist. If a seller hesitates on any of these points, consider it a red flag.
A DTF machine is more than just a printer; it is a business expansion engine. It allows you to say “yes” to orders you previously had to refuse. It frees you from the tyranny of minimum quantities and fabric restrictions. It turns custom apparel from a complicated manufacturing process into a streamlined, on-demand service.
However, it is not a passive income stream. It demands respect for its mechanics, consistency in your environment, and a willingness to learn the chemistry of inks and powders. The entrepreneurs who succeed with DTF are those who view the machine not as a magical solution, but as a powerful tool that requires skill to wield.
If you are ready to take control of your supply chain and deliver exceptional products to your customers, the time to invest in a DTF machine—and invest in learning it deeply—is now.
Are you currently running a DTF setup, or are you still researching which machine fits your vision? I would love to hear about your biggest hurdle in the comments below—whether it’s choosing between models, mastering the white ink, or finding your first customers. Let’s figure this out together.
If you found this guide helpful, share it with a fellow maker who is still on the fence. The more informed our community is, the better the custom apparel industry becomes for everyone.